I had a few inquiries about this Mini Elephant Cake Purse I made a few weeks ago, so here are a few pictures so you can get a visual idea in how I made it.
I covered the cake in chocolate fondant, I used this Giraffe texture mat, I loved the pattern and the mat was very inexpensive. I just notice that is out of stock on the site,I am sure it will be back soon so you can grab one.
The zipper was super easy to make. I just rolled the fondant out, let it set for a few minutes and then I imprinted the zipper using this mold. I then cut the zipper and attach it to the cake with a dab of water.
Silicone molds can be expensive, but if you want to accomplish realistic patterns and details on cakes they are worth every penny.
To give a more realistic look to the zipper, I painted it with a mixture of silver luster dust and vodka.
Making the buckle
I used gray gumpaste.
I rolled it not so thin, let it set for around 5 minutes and cut the buckles using 2 sizes of small rectangle cutters ( I got them at the same site where I got the Giraffe texture mat ), I adjusted the shapes a little to get the look I was looking for and then I set them aside to dry completely.
I use a tip 10 and a tip 2 to make the little holes for the strap. (tip 10 to cut the dot and the #2 tip to cut the inside of the dot)
After the pieces were all dry I air brushed them with silver color.I attached the buckles to the cake with a little piping gel.
A little info about the cake
-I baked the cake in a 9" x 13" baking pan, 2" high. I then cut it in 3 parts of the same size and trimmed off the sides and top with a serrated knife.
-I stacked the pieces on top of one another,double wrap them in plastic wrap and put them in the refrigerator to get cold.
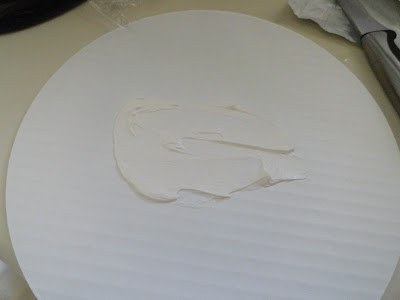
-I added a thin coat of buttercream directly on the cake board and place the first layer of cake on it.
-I filled each layer with vanilla SMB and place the cake back in the refrigerator for the buttercream to set.
No pictures for this part...
-I crumb coated the top and sides of the cake,placed the cake back in the refrigerator for the buttercream to set again.
-When the buttercream/cake was set,I carved the sides and top of the cake to form the purse shape I was looking for, then I frosted the whole cake with buttercream and let it set in the fridge for a few hours.
-Next, I covered the cake with chocolate fondant in 4 stages. First the sides of the cake, then the front and back of the cake.
Well, sorry for the lack of pictures but at least you can get an idea how I made it.
Happy Wednesday!


.JPG)


7 comments:
Kathia!! me encanta! te ha quedado perfecto! muchas gracias por el tutorial.
Besos
This cake was stunning the first time around. Seeing how you did all the perfect little details is such a treat. Love that zipper and buckle.
What a great tutorial! I need one of those zipper molds!!
I agree, its' great tutorial! I l ove how you made those buckles and those tiny buttons!
Thanks for the tutorial :)
Thanks for the tutorial. It was really helpful 8-)
Thanks for the tutorial. It is a big help. I am going to make a similar purse. I noticed you didn't put dowels in the cake for support. Was it sturdy enough? Just worried that mine won't hold up without them. Thanks.
Post a Comment
Thank you for taking the time and leaving a comment.I really appreciate it.