


Plaque cookie cutters are one of the best addition to the cookie cutter World. So many choices, too many possibilities and maybe too little time to play around with them. These new
plaque cookie cutters are the newest addition to The Cookie Cutter Company. They are big, sturdy and the perfect size for writing messages and intricate cookie designs.
Since Easter is next Sunday, I know you might be running around getting your menu and all shopping ready. Me? not that much, we spend Easter at a friend's house and my cooking part is pretty easy. I am making a carrot cake for dessert, what about you?
Any way, since I know you are busy I put together an easy tutorial for you. Not only are the cookies cute, but very easy to make.

If
you don’t own a plaque cookie cutter I highly recommend you to get these.
Soft
colors, Easter grass, wafer bunnies and a quick bunny design bring life to
these cookies.
Bake
and decorate the cookies a few days in advance, put them in a seal container between
sheets of parchment paper and put them on a platter on Easter day.
Your
family and kids will be thrill!!
Now, let’s decorate cookies. You will need the following:

|
| |
 | |
|
| |
 | |
.americolorgelcolors in peach, bright white, mint green and sky blue
.small cookie cutters, shape of your choice
.small amount of fondant and rolling pin
.tissue paper
.tips #1,#2 and #3,pastry bags and couplers
.Easter grass with wafer bunnies (you can find them at any grocery store around this time of the year)
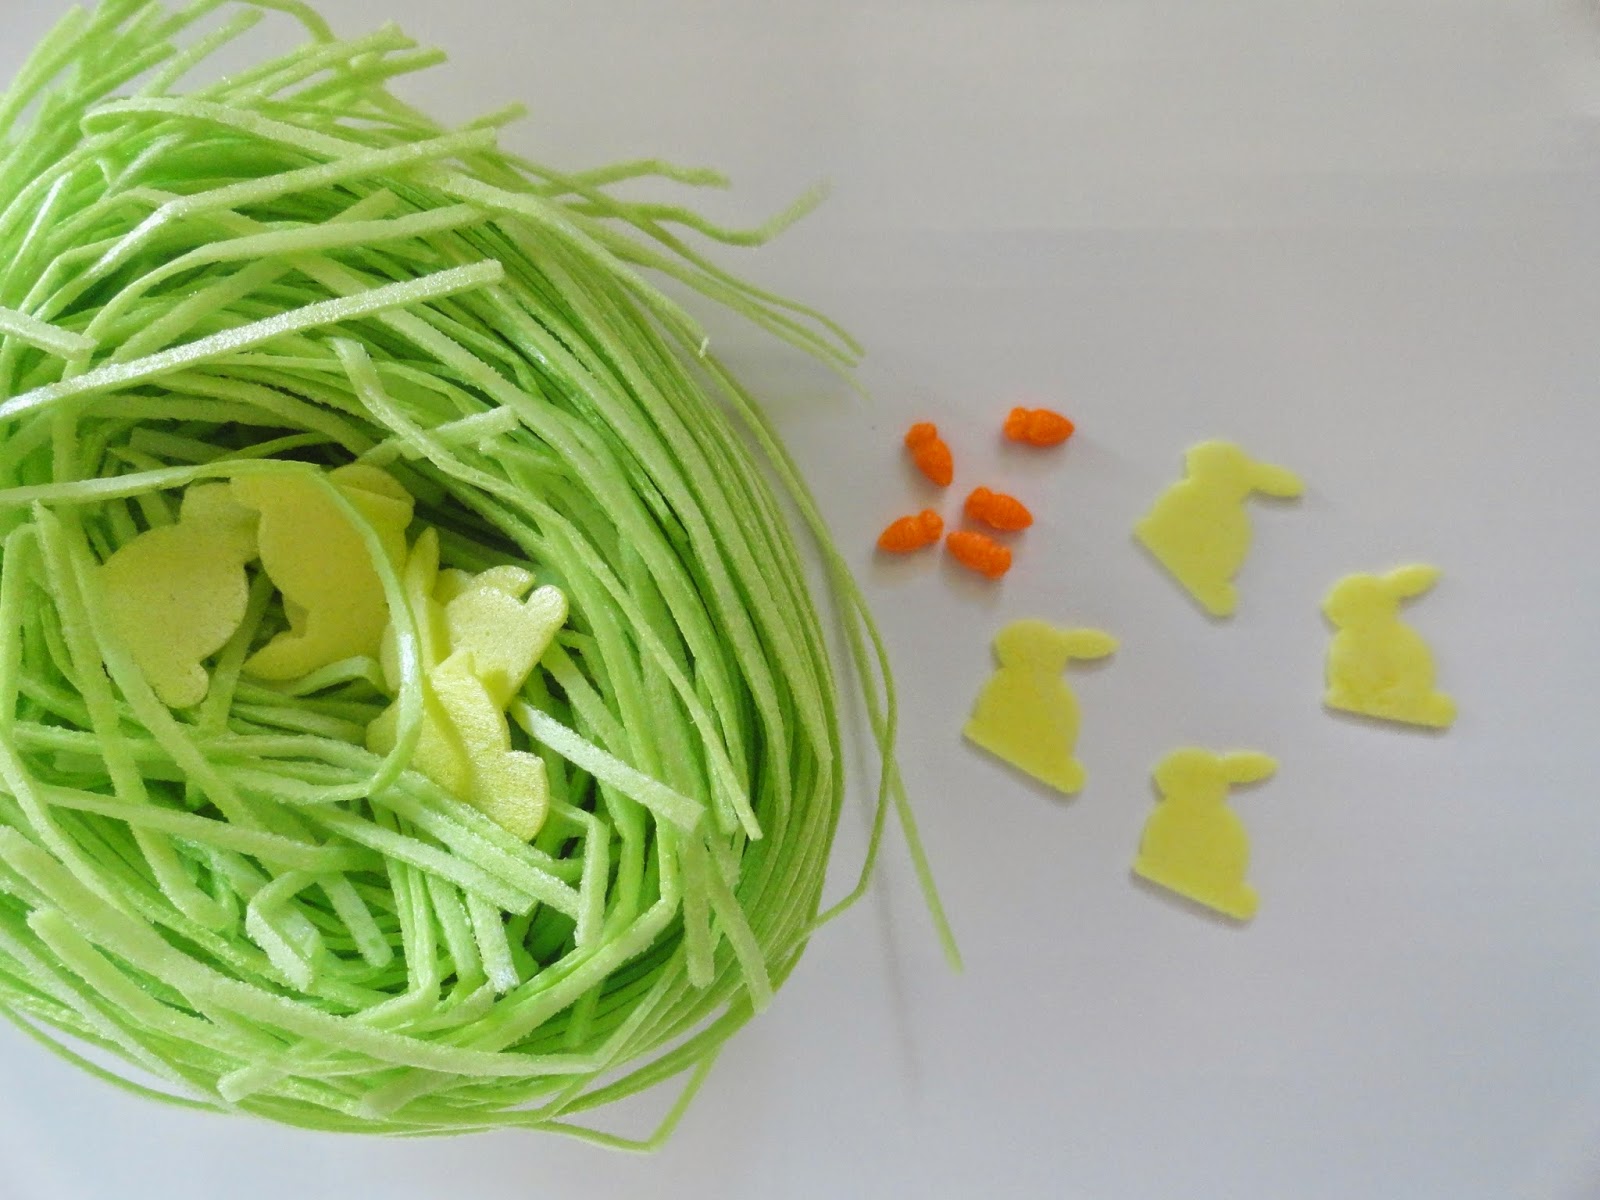
.carrot
sprinkles

Silly
Bunny holding an Easter egg

For
this cookie I used the tissue paper method created by one of my favorite cookie
designers. It really comes in handy when you do not own a Kopykake.
Start
by find the perfect template for your design, I found this cute bunny on one of
my daughter’s stickers. Make a copy of the image with the size you are looking
for.
Outline
and flood your cookie and let the cookie dry overnight if possible before
tracing the design, you will see in one of these pictures that my cookie wasn’t
dry enough when I traced it and I got a hole on it.

Take
a piece of the tissue paper and using an edible marker trace the image. Then,
place the tissue paper over the dry cookie and trace it again.
Firm
pressure when tracing the design will make it bleed through the paper and you
are going to end up with the basic outline to pipe and flood the design.
Use
tip #2 to pipethe design, let it dry a few minutes and then flood it.
Let
the cookie dry completely before adding the details of the bunny’s face with
the edible markers and the outline of the plaque.

Wafer
bunny cookies

Using
Easter grass, sprinkles and wafer bunnies these cookies couldn’t be any easier
to make.
Outline
and flood the cookies with white icing letting the cookies dry overnight.Try playing with the design that you are going to put in the cookie before attaching it.


Easter
Silhouette Cookies
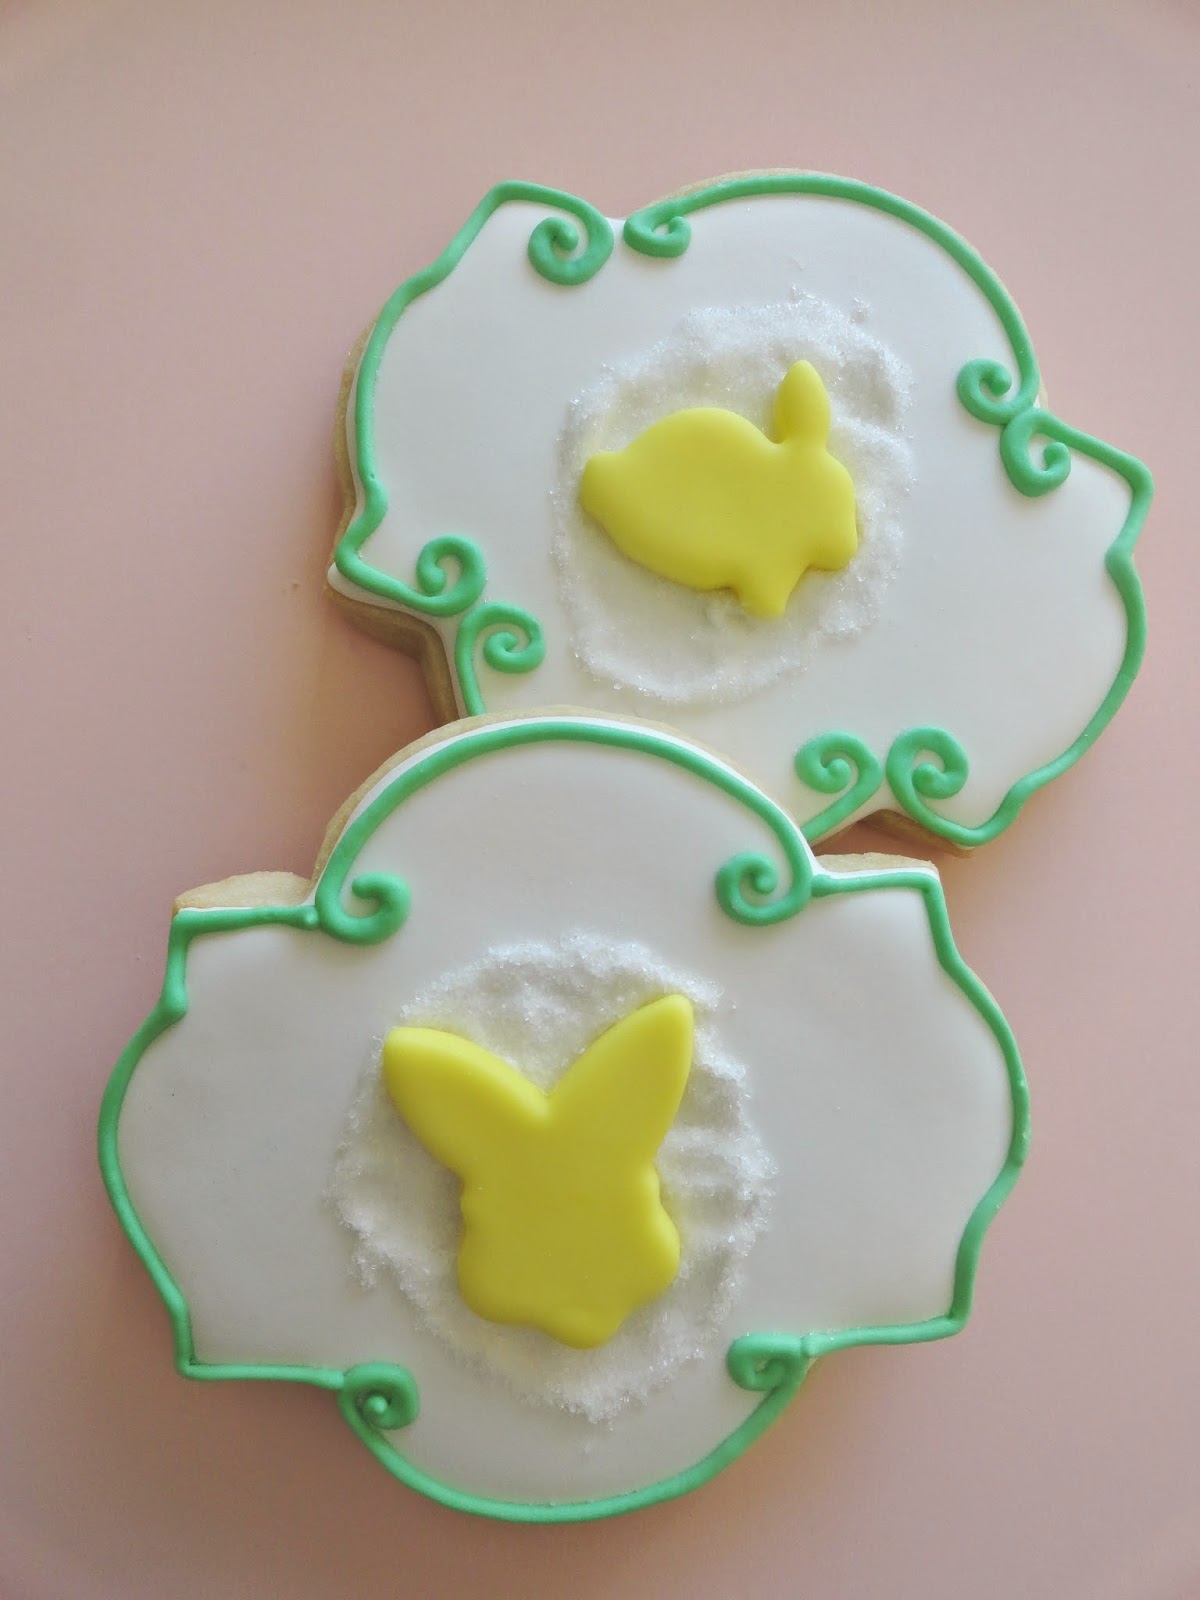

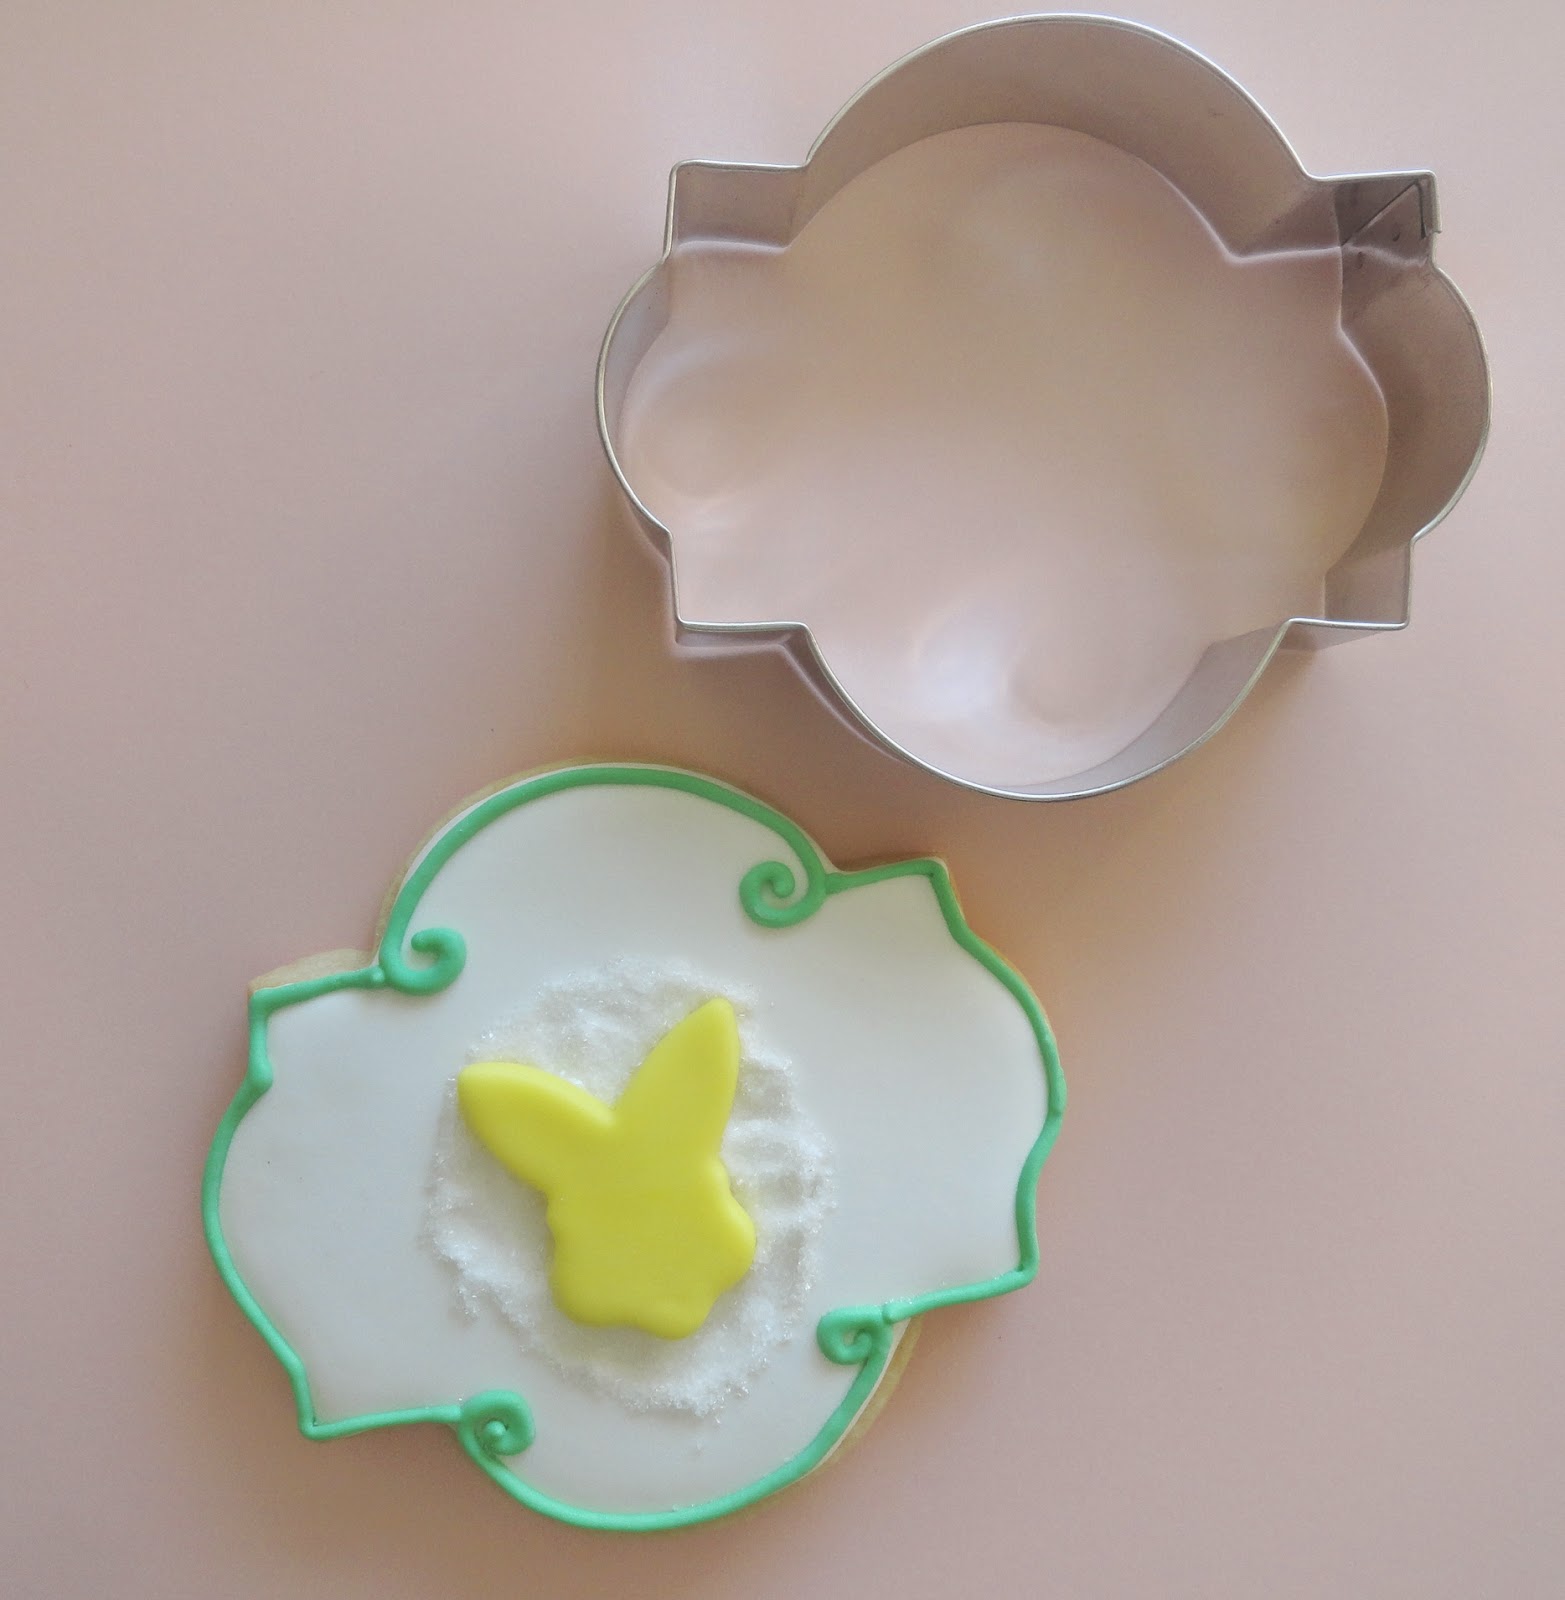
Using
a small cookie cutter, roll out a piece of fondant, cut the shape and set
aside.
Add
a dab of royal icing in the middle of the cookie, spread with a spatula and
sprinkle white sanding sugar.Attach the fondant silhouette with a dot of icing.

Have
a wonderful Easter!!


1 comments:
I love the way you used your silhouette cutters, to make these cookies look amazing! Your Easter cookies look very pretty. Happy Easter!
Post a Comment
Thank you for taking the time and leaving a comment.I really appreciate it.